Getting Started
Install RobOS on bare metal or run it as a VM.
Table of contents
- Option A: Install on a Laptop (Bare Metal)
- Option B: Run as a VM (QEMU/KVM)
- First Login
- Testing Apps (Dev Harness)
- Deploying Changes to the VM
- Next Steps
Option A: Install on a Laptop (Bare Metal)
The recommended way to run RobOS for daily use. Works on any x86_64 machine — ThinkPads, Dell, HP, any PC. Three clicks and you’re done.
The Easy Way: RobOS Installer App
Download the RobOS Installer for your OS from the latest GitHub Release:
| Your OS | Download |
|---|---|
| Linux | RobOS-Installer-linux.AppImage or .deb |
| macOS | RobOS-Installer-mac.dmg |
| Windows | RobOS-Installer-win.exe |
Run the installer and follow the 3-step wizard:
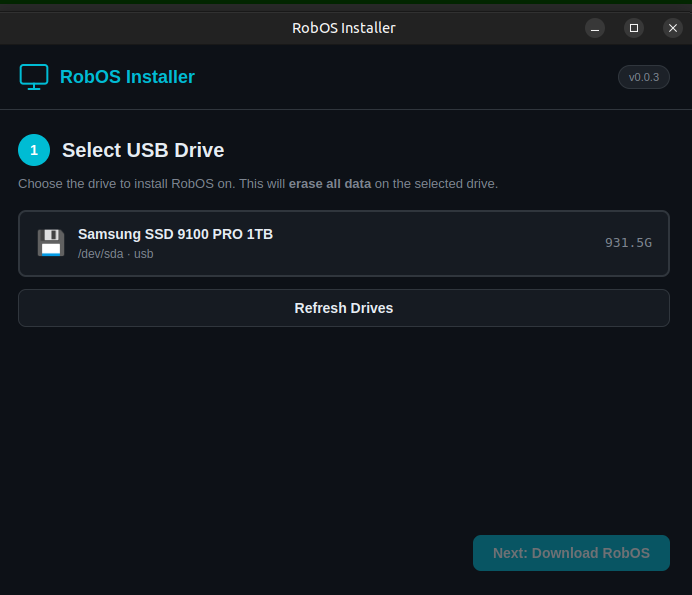
- Select your USB drive — the installer detects all removable drives
- Download RobOS — automatically downloads the latest ISO with a progress bar
- Flash — writes the ISO to your USB drive (confirm before erasing)
Then plug the USB into your target laptop, boot from it, and wait ~15 minutes. Done.
The Manual Way: Flash with dd/Rufus
If you prefer command-line tools:
# Download the ISO
wget https://github.com/nddipiazza/robos/releases/latest/download/robos-v0.0.3.iso

# Linux — flash with dd
sudo dd if=robos-v0.0.3.iso of=/dev/sdX bs=4M status=progress

# Or use the included CLI tool
sudo bash scripts/flash-robos.sh /dev/sdX
On macOS use balenaEtcher. On Windows use Rufus.
This will erase the target drive. Double-check you’re writing to the USB drive, not your system disk.
Boot and Wait
- Insert the USB drive and boot from it (F12 or F2 at BIOS splash for boot menu)
- The RobOS installer starts automatically — no interaction needed
- It installs Ubuntu 24.04, creates the
robosuser, installs GNOME + Node.js + Electron + all 30+ RobOS apps, applies the dark theme, and reboots - After ~15-20 minutes (depending on internet speed), you’ll see the RobOS desktop
Default credentials: username robos, password robos
The installer will use the entire disk. If you need dual-boot or custom partitioning, use Option B (VM) or install Ubuntu manually first, then run
robos-provision.shfrom the release.
Option B: Run as a VM (QEMU/KVM)
Best for development, testing, or trying RobOS without modifying your host system.
From GitHub Releases (Fastest)
Download the pre-built VM image and seed ISO from the latest release:
# Download artifacts
wget https://github.com/nddipiazza/robos/releases/latest/download/robos-v0.0.2.qcow2
wget https://github.com/nddipiazza/robos/releases/latest/download/robos-v0.0.2-seed.iso

# First boot — cloud-init provisions the full RobOS desktop
qemu-system-x86_64 -m 16G -smp $(nproc) -enable-kvm -cpu host \
  -drive file=robos-v0.0.2.qcow2,format=qcow2,if=virtio \
  -drive file=robos-v0.0.2-seed.iso,format=raw,if=virtio \
  -netdev user,id=net0,hostfwd=tcp::2224-:22 \
  -device virtio-net-pci,netdev=net0 \
  -display gtk

# After provisioning completes and VM reboots, run without seed ISO:
qemu-system-x86_64 -m 16G -smp $(nproc) -enable-kvm -cpu host \
  -drive file=robos-v0.0.2.qcow2,format=qcow2,if=virtio \
  -netdev user,id=net0,hostfwd=tcp::2224-:22 \
  -device virtio-net-pci,netdev=net0 \
  -display gtk
From Source
git clone https://github.com/nddipiazza/robos.git
cd robos

# Build the disk image and cloud-init ISO
infra/desktop/build.sh

# First boot with cloud-init provisioning
infra/desktop/run.sh --firstboot

# Subsequent boots
infra/desktop/run.sh
Prerequisites (VM)
| Requirement | Version | Notes |
|---|---|---|
| QEMU/KVM | Latest | /dev/kvm access required |
| Node.js | 20+ | For building from source |
| Host RAM | 16 GB+ | VM uses 16 GB |
| Disk | 100 GB free | Sparse qcow2 image |
Connect to the VM
# SSH access
ssh -p 2224 robos@localhost
# Password: robos

# VNC access (for GUI): port 5910
# SPICE access (clipboard sharing): port 5932
The first boot runs a 7-step provisioning sequence via cloud-init:
- System packages and GNOME desktop
- Node.js and Electron runtime
- Dark theme and desktop customization
- All 30+ RobOS Electron apps deployed to
/usr/local/share/robos/ - Desktop panels, widgets, and launcher configuration
- LightDM auto-login setup
- Final reboot
First Login
On first login, the App Launcher opens automatically — a searchable grid of all RobOS applications.
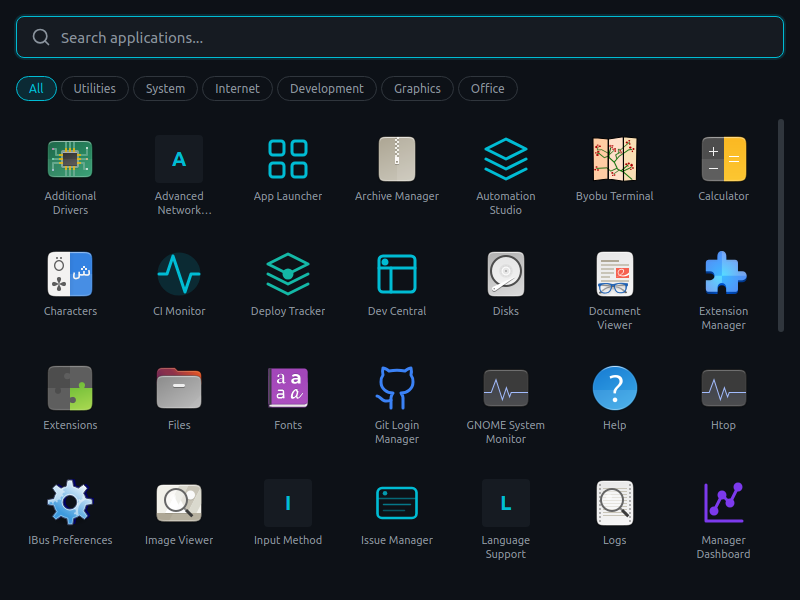
The recommended first steps:
1. Security Setup
Open Security Setup from the App Launcher. It walks you through 5 steps:
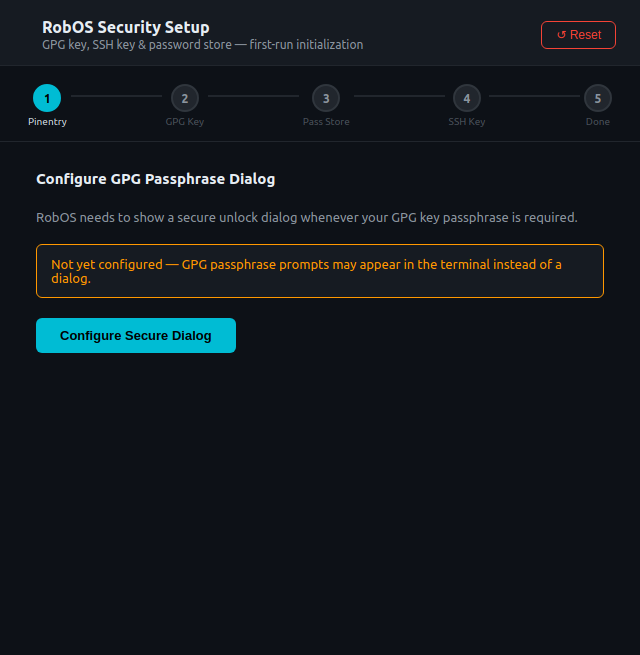
- Pinentry — Configure GPG pin entry
- GPG Key — Generate a new GPG key for encrypting secrets
- Pass Store — Initialize the password store
- SSH Key — Generate an SSH key
- Add to GitHub — Register the SSH key with GitHub
2. Configure a Task Server
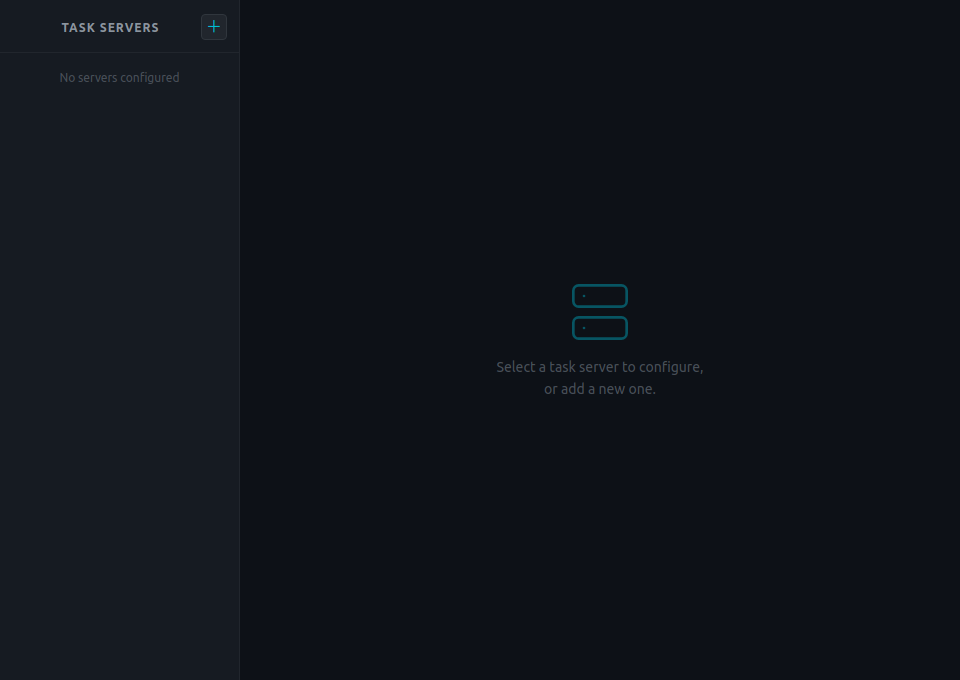
Open Task Servers and add your GitHub or Jira instance:
| Field | Example |
|---|---|
| Type | GitHub |
| Name | My Project |
| Org | acme-corp |
| Repo | my-project |
| Auth | Use gh CLI |
Click Test Connection to verify, then Save.
3. Define Your Workflow
Open Workflow Studio and use the AI generator:
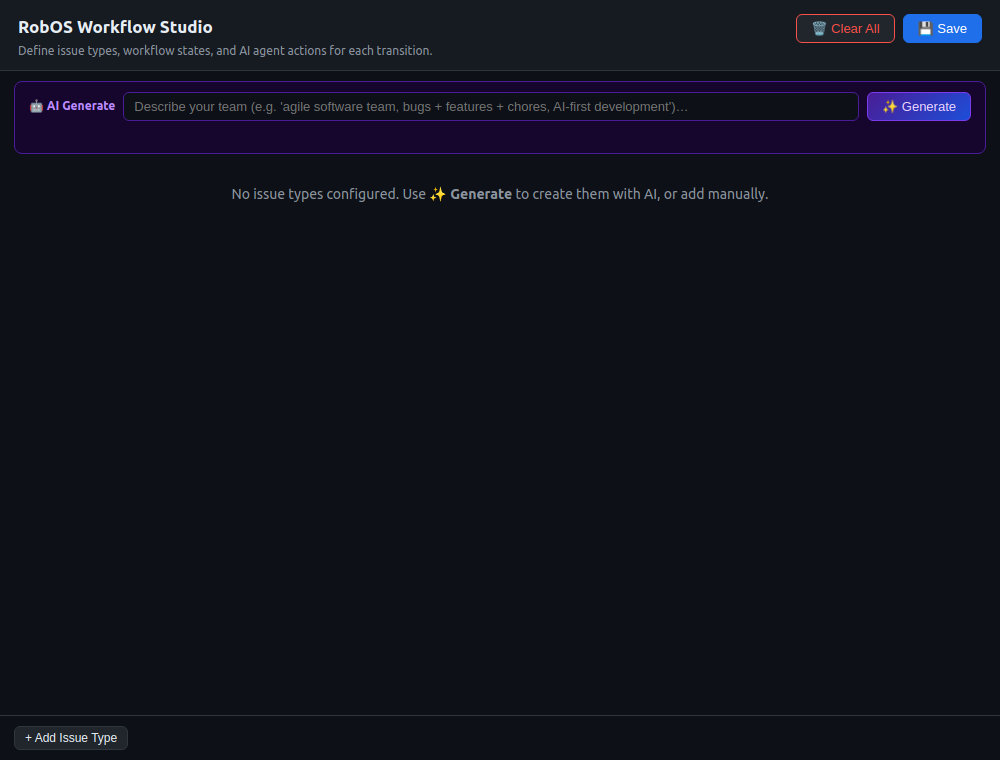
- Describe your process:
agile software team, bugs + features, AI-first development - Click Generate — AI creates issue types and workflow states
- Review and Save
Testing Apps (Dev Harness)
You don’t need the VM to test apps during development. The dev harness runs Electron apps locally in a sandbox:
cd packages/robos-test
npm install

# Run all unit tests (440 tests)
npm run test:unit

# Run all E2E tests
npm test
Test scenarios simulate different credential states (all-good, fresh-install, no-gh-auth, etc.) with sandbox $HOME isolation and CLI stubs.
Deploying Changes to the VM
# Single app update
scp -P 2224 -r packages/task-board/* robos@localhost:/tmp/task-board/
ssh -p 2224 robos@localhost "sudo rm -rf /usr/local/share/robos/task-board \
  && sudo cp -r /tmp/task-board /usr/local/share/robos/task-board \
  && sudo chmod -R a+rX /usr/local/share/robos/task-board \
  && cd /usr/local/share/robos/task-board && sudo npm install --quiet"
Next Steps
- The Model Problem — See how a team uses RobOS to build buildbarn-forms
- App Suite — Explore all 30+ RobOS applications
- Architecture — Understand the technical design